How to add webpack package analysis to your nuxt project
We know how important it is to put into production applications that have the best possible performance, but as we start to develop a project we add different packages for certain tasks and in the end this will have an impact on the application’s performance, how can we analyze this using nuxtjs?
I recently discovered a very easy and interactive way to map and analyze the packages being used in the project. We can create a simple command in package.json as follows:
"scripts": {
  "dev": "nuxt",
  "build": "nuxt build",
  "analyze": "nuxt build --analyze"
}
or we can run it directly in the terminal with yarn
yarn build --analyze
or even using the npx command
npx nuxt build --analyze
With this, the webpack analyzer must be launched in your browser and with this we can view the entire package tree that the project is using

We also have a bar on the left that allows you to choose which pieces to show with their appropriate sizes. We can see an example of this in the image below:
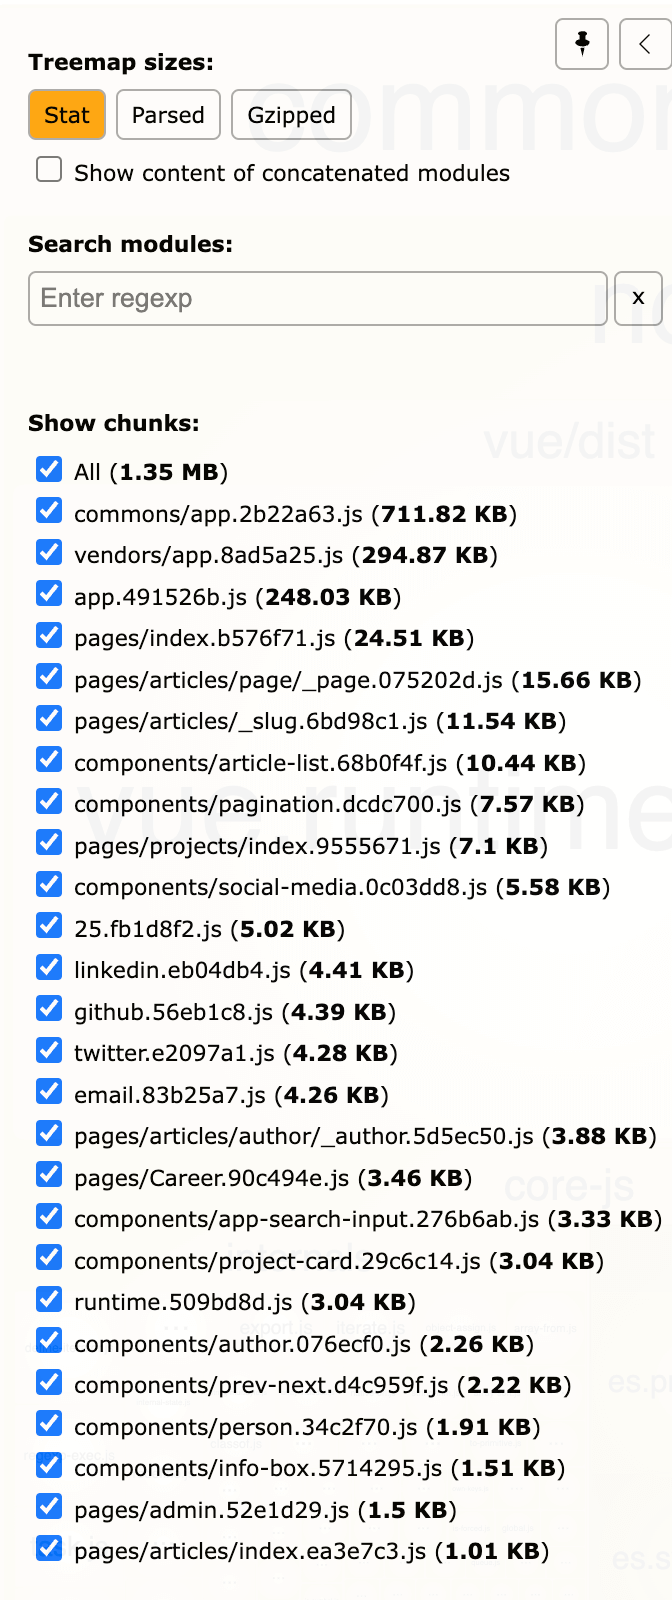
You can also double-click boxes, hover over them for more details, and right-click a chunk to easily hide it or to hide all other chunks.
I hope this article can help you analyze your project and improve it, see you in the next post.